How To Configure Chrome On Mac For Uworld
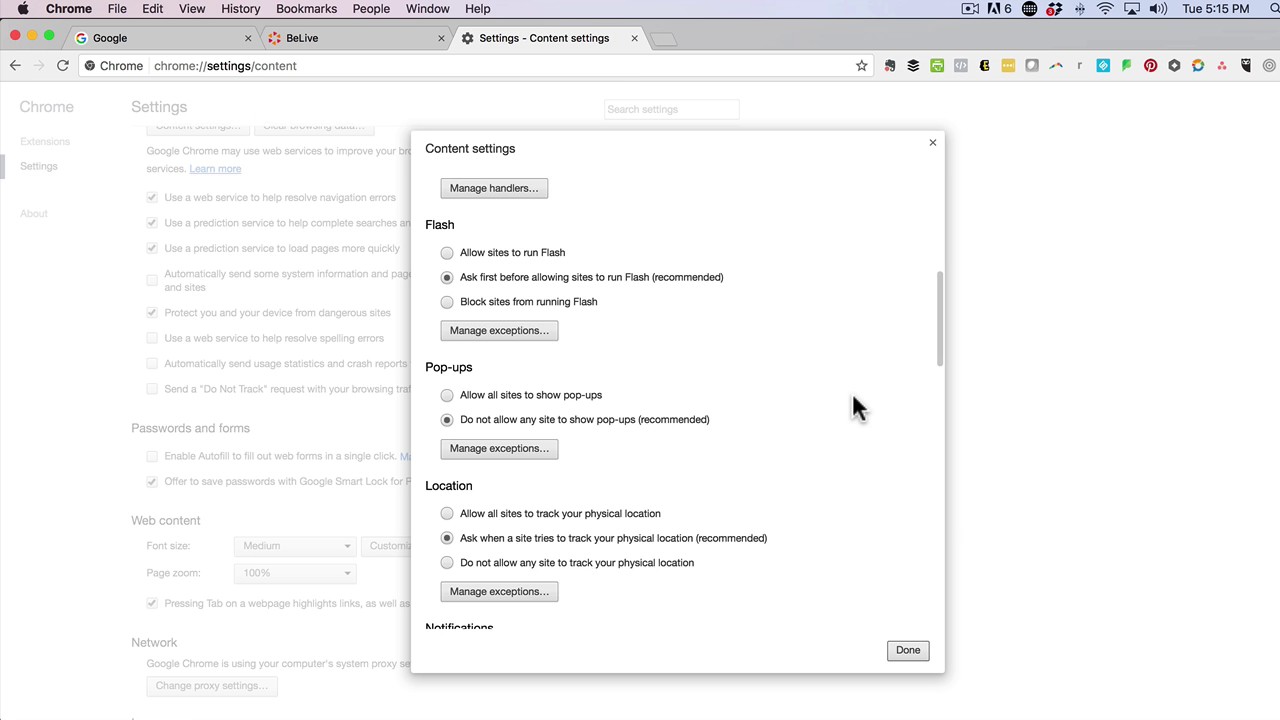
Site Settings In Chrome. To manage site settings in Chrome, you need to visit the website. Once you have the website open, look at the URL bar. On the far left, just before the URL, you will see a padlock icon and the word Secure next to it. Click it and in the pop-up that opens, click Site Settings. We will set up your account as soon as we receive your payment and notify you via email of your access credentials. All direct-mail payments must be in U.S. Dollars and made payable to: UWorld, LLC 9111 Cypress Waters Blvd Suite 300 Dallas, TX 75019. We do not accept cash via mail, currencies other than U.S. Dollars or payments via fax.
Changing the Security preferences for Mac OS X Snow Leopard is easy. You have options to use a firewall, enable the FileVault, and more. To access security preferences, open the System Preferences by clicking the gear icon on the dock and then choose the Security pane.
Settings here are divided into three tabs:
General: To add an extra layer of password security to a laptop (or a Mac in a public area), select the Require Password After Sleep or Screen Saver Begins check box. Snow Leopard then requires that you enter your login password before the system returns from a sleep state or exits a screen saver. Click the pop-up delay menu to specify when the password requirement will kick in (it’s immediate by default).
Admin-level users can set the global security features in the For All Accounts on This Computer section. You can choose to disable the automatic login feature, force Mac OS X to require a login password each time that a System Preference pane is opened, automatically log off any user after a certain amount of inactivity, or use a secure (encrypted) virtual memory on your hard drive. You can also mark the Disable Location Services check box to turn off the Location feature, preventing applications from using information based on your Mac’s current location.
If you don’t need the Remote on a regular basis, click the Disable Remote Control Infrared Receiver check box to select it. (But don’t forget to turn your IR receiver back on for your next movie night!)
FileVault: These controls allow you to set the master password for FileVault encryption within the current user’s Home folder, which makes it virtually impossible for others to access those files. Only an admin-level user can set the master password. After the master password is set, you can click the Turn On FileVault button to enable FileVault encryption for the user who’s currently logged in; the user’s Login password becomes his FileVault password as well.
Lord of the Rings: The Battle For Middle-Earth PC Game Download Size: 5.54 GB. Experience Middle-earth like never before in The Lord of the Rings™, The Battle for Middle-earth™, the first The Lord of the Rings game that puts you in command of a real-time, open world. Control the legendary heroes, massive armies, and epic campaigns of. Experience Middle-earth like never before in The Lord of the Rings™, The Battle for Middle-earth™, the first The Lord of the Rings game that puts you in command of a real-time, open world. Whether choosing to command the forces of good or evil, PC gamers are in complete control of the epic campaigns depicted in all three films of the trilogy. The Lord of the Rings: The Battle for Middle-Earth, a real-time strategy game released in 2004 by EA Games. The game was released for PCs (Windows). The plot of the game based on the books of J.R.R. Tolkien and Peter Jackson's movie - The Battle for Middle-earth. The characters, places, monsters and other elements contained in the game are. Lord of the Rings: The Battle for Middle Earth 2 - The Rise of the Witch-King - Edain Mod v3.7.5 The Lord Of The Rings: The Battle For Middle-Earth 2 - The Last Hope of the Third Age 0.21 beta The Lord Of The Rings: The Battle For Middle-Earth 2 - The Last Hope of the Third Age 0.2 beta. Lord of the rings battle for middle-earth 3.
Firewall: Mac OS X includes a built-in firewall, which you can enable from this pane.
To turn the firewall off entirely, simply click the Stop button. Any Mac hooked up to a network or the Internet should have the system firewall turned on.(The only exception is if you’re using a network that you know to be secure and your access to the Internet is through a router or sharing device with its own built-in firewall.)
When the firewall is enabled, click the Advanced button to set firewall options.
To turn the firewall on with only Mac OS X application exclusions, click Block All Incoming Connections.
To turn the firewall on with exclusions, click Automatically Allow Signed Software to Receive Incoming Connections. (This is the correct option for just about every Mac owner.) Any connection to a service (such as Web Sharing) or an application (such as iChat) that isn’t listed is blocked, but you can enable access for third-party applications as needed.
To add a third-party application to the Allowed list, click the Advanced button at the bottom of the Firewall pane; then click the button with the plus sign. Navigate to the application that needs to communicate with the outside world. Click the application to select it and then click Add.
To delete an application from the list, select it and click the button with the minus sign. Remember, you don’t have to add any of the applications provided by Apple with Snow Leopard, such as Apple Mail, iChat, and Safari; only third-party applications that you install yourself need a firewall rule.
You can edit the rule for a specific service or application by clicking the rule at the right side of the entry. By default, the rule reads Allow Incoming Connections (including both your local network and the Internet); however, when you click the rule, you can also choose Block Incoming Connections to temporarily deny access to that application.
If you suddenly can’t connect to other computers or share files that you originally could share, review the rules that you’ve enabled from this pane.